"I saw this thing on Pinterest/YouTube/Facebook..." (delete as appropriate) roughly translates to my partner as "I've seen a wacky project and I want to give it a go...."
He sidles off to hide his expensive professional tools, while I go in search of my screwdriver...
So....
I saw this thing on YouTube the other day about making an artificial daylight light-box from an old broken TV screen, and after having a bit of a chat about it on our Forum, I decided that I definitely wanted to give it a go! Those of you who may also live in a Victorian built property will know that they are notoriously dark inside due to them being not very wide across but very long in depth, meaning that the centre section of the house doesn't see that much daylight especially in the winter months when natural daylight is at a minimum. So anything that can add extra light into that space is a much welcomed addition!
My first challenge was where to get hold of an old TV... Unfortunately, not something you come across on a daily basis and I really didn't fancy a trip to the local tip to see if I could source one there. However, I know that our IT dept have a WEEE bin filled with broken electronics waiting for pick up for recycling. So a quick trip upstairs to the second floor and a chat with my colleagues up there resulted in a 'bin dive' and the sourcing of an old 22" Dell monitor! 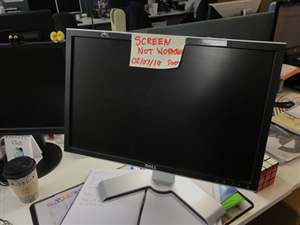
Watching the video (he made it look so easy...) I unscrewed four screws in the back of the monitor expecting to be able to then remove the back cover...
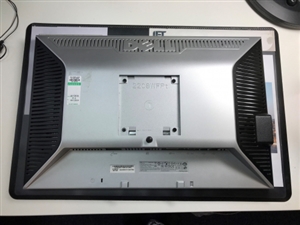
Unfortunately that didn't quite work out as I expected but a quick search on Google and I found the instructions for removing the casing. You have to unclip the frame around the front of the monitor in order to remove the back (after you've removed the screws of course) 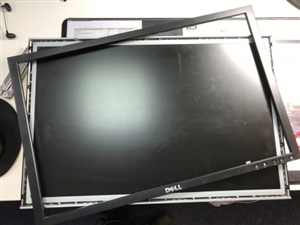
With the front casing now off I could turn it over and remove the screws so I could lift off the back cover and reveal the inner workings of the monitor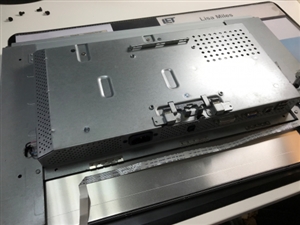
The circuitry on the back is not needed so I remove that as well and after undoing the frame edges I'm left with just the screen components. 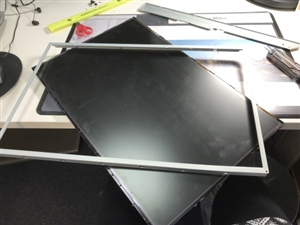
I don't need the LCD screen itself or the silver frame edge so they can go back into recycling (along with all the circuitry) . What I'm interested in is the fresnel lens and the diffusers that sit behind the LCD screen.... ?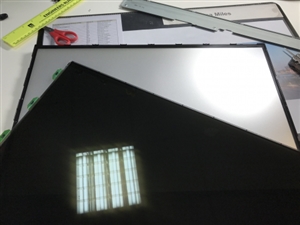
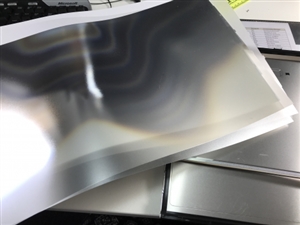
So after extracting the lens and the diffusers and annoying my colleagues with them as I just HAD to show them what I'd found, it was at this point that I realised I didn't actually have an LED light strip to finish off the project. ?
So I've got one or order as I type and just waiting for it to be delivered before I can post up part two of my Lunchtime Project!
A self confessed Geek and a HUGE James Bond fan, Lisa is the Online Community Manager for the IET's Engineering Communities online community platform. In her spare time she can usually be found laughing at how her colleagues look when seen through a fresnel lens …
